
- Using the menu, click "GameObject>MeshEdit>Create Custom Mesh" OR Using the heirarchy, right click to bring up the drop down menu and click "Mesh Edit>Create Custom Mesh"
- The new mesh will now be sitting in the middle of the scene view.

A new mesh in the scene view
- The Default mode is active whenever the GameObject is selected. While in the default mode, everything will behave like it usually does for a Unity GameObject.
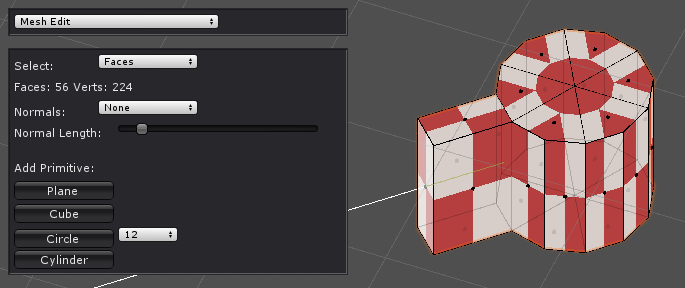
- The Mesh Edit mode is the mode which lets you change the geometry of your mesh. In this mode the appearance of your mesh will change to reveal the selectable vertices and faces. In this mode a variety of shortcuts will become available to modify your mesh.
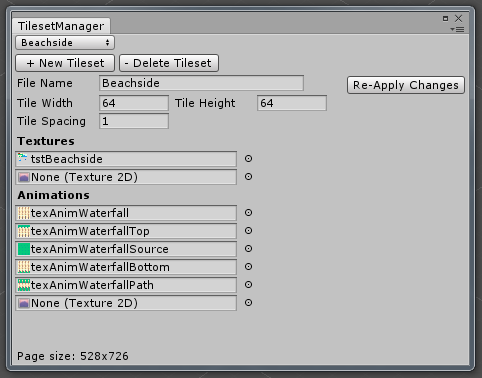
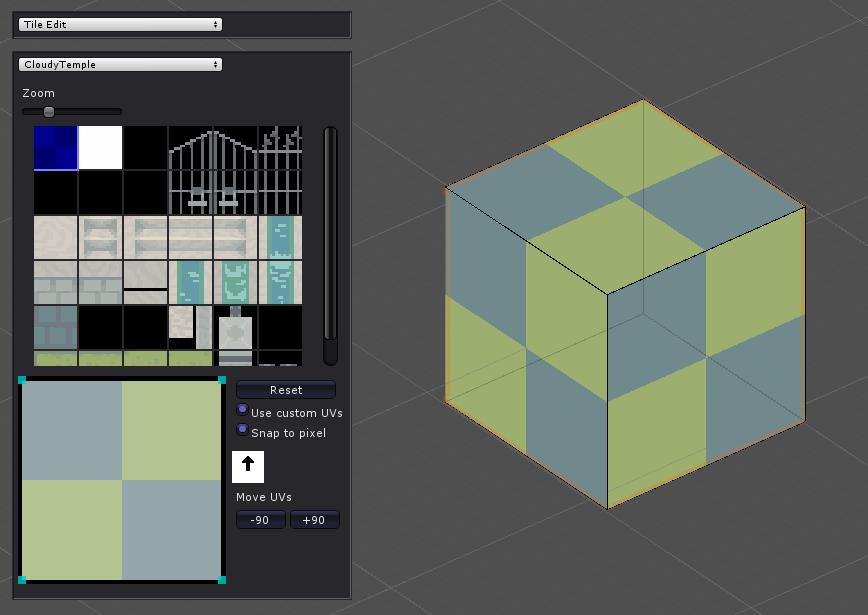
- The Tile Edit mode gives you the ability to texture your model using a Tileset.
- The Vertex Colour mode lets you modify the vertex-colour property of the vertices and faces on your model.


 If you find a bug or think of an incredible new feature you'd like to see, feel free to leave me a message on